 By MTAC Painting And Pressure Washing LLC
Published
A durable garage floor begins well before the first coating. The condition of the slab, professional preparation, compatible products, and proper application work together as one system.
1. Start with the concrete
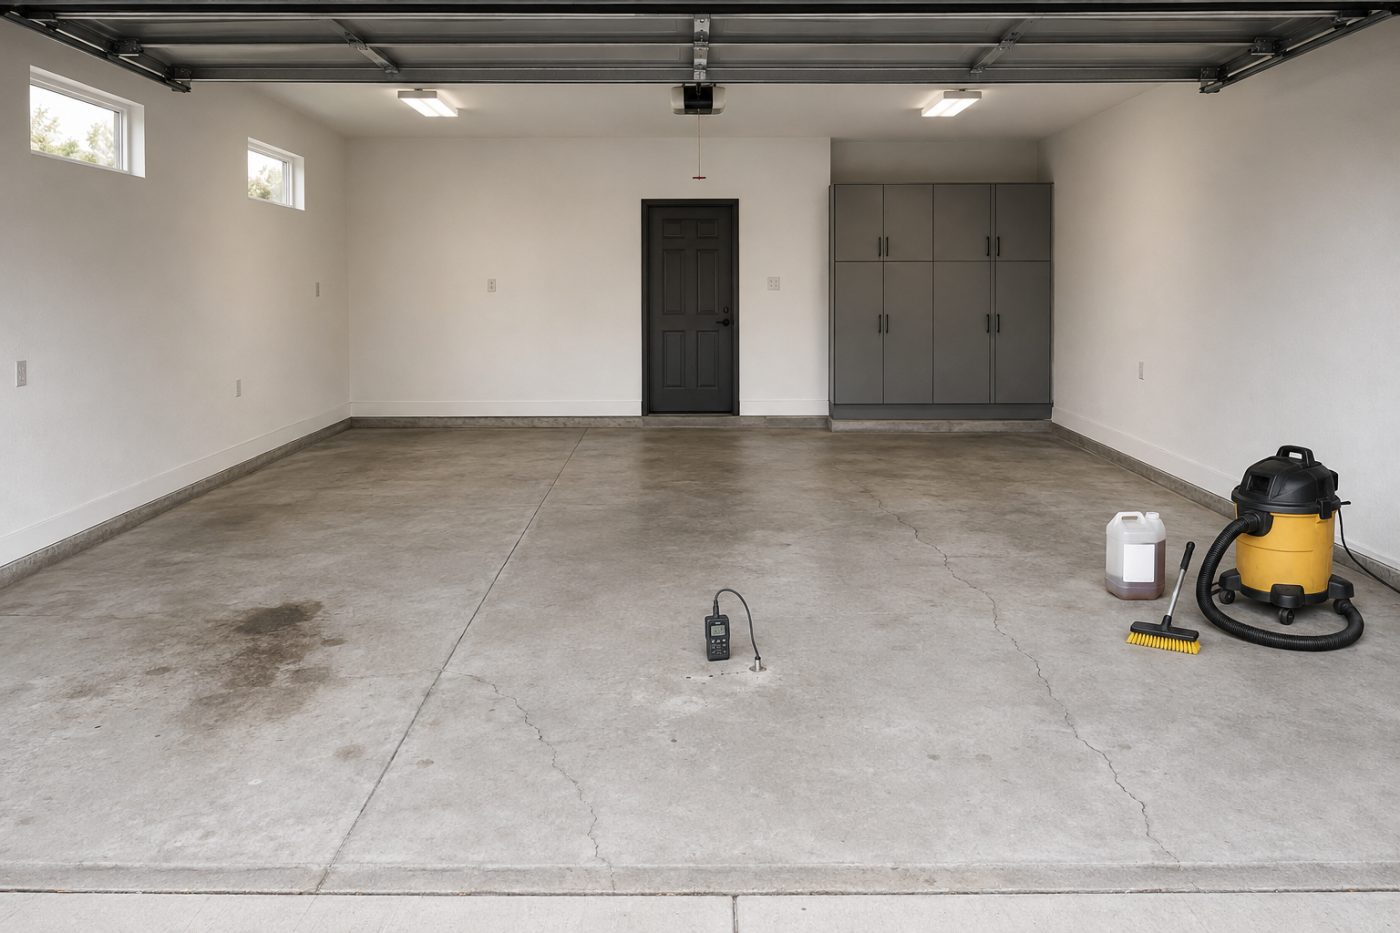
Look for existing coatings, sealers, oil contamination, cracks, pits, weak concrete, and signs of moisture. These conditions determine the preparation and repair work needed.
2. Test for moisture
A slab can look dry while moisture vapor is moving through it. Moisture testing helps identify whether the selected system is appropriate and whether further investigation or mitigation is needed.
3. Resolve moisture problems when needed
Active leaks and uncontrolled water intrusion must be addressed. A moisture-mitigation product is not a substitute for correcting a leak or serious drainage issue. Any treatment must suit the measured conditions and product requirements.
4. Clean before mechanical preparation
Oil, grease, silicone, and other contaminants need appropriate cleaning. Grinding a contaminated floor can spread contamination rather than create a suitable bonding surface.
5. Mechanically prepare the slab
Diamond grinding and edge preparation create the surface profile required by the selected coating system. Dust extraction helps control debris during preparation.
6. Repair and finish the preparation
Cracks, pits, and damaged areas are addressed with appropriate repair materials. Joints are evaluated separately because some must remain functional. The prepared slab is inspected and thoroughly vacuumed before coating.
7. Apply the epoxy base coat
The professional epoxy base is measured, mixed, and applied according to the product instructions. Temperature, humidity, working time, and slab condition all influence the installation.
8. Broadcast the decorative flake
A full flake broadcast is used as part of the specified decorative system. Once the base has cured sufficiently, the floor is scraped and vacuumed to remove loose and high-standing flakes.
9. Protect the system with a clear topcoat
A compatible polyaspartic clear topcoat seals the flake layer and protects the finished surface. Texture and slip-resistant additives are considered for the intended use.
10. Respect the curing schedule
Follow the project-specific instructions before walking on the floor, moving heavy items back, or parking vehicles. Temperature, humidity, ventilation, and the products affect return-to-service timing.
11. Maintain the finished floor
Remove dirt regularly, clean spills promptly, and avoid incompatible cleaners or dragging sharp metal items across the finish. Moisture, traffic, preparation quality, chemical exposure, and maintenance affect service life.
Service life and warranty are different.
Actual performance depends on the concrete, moisture, preparation, products, use, and maintenance. Coverage up to 5 years depending on project type, scope and conditions. Ask us for the written warranty terms for your project.
Explore garage epoxy floors